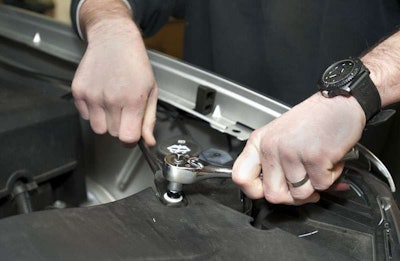
 The GM 1500 driver's-sdie fender brace must be unbolted to drop in the auxiliary battery. It's put back after the battery and isolator are in place.
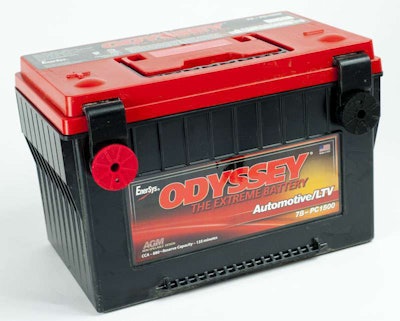 We choose the Odyssey 78-PC1500 AGM battery because it's designed for deep-cycling and to withstand hard off-road abuse.
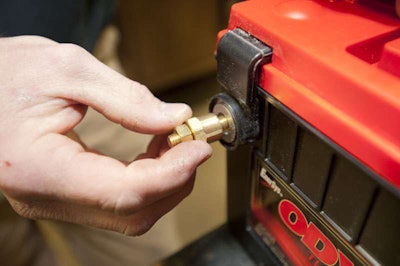 Cable extension posts allow multiple electrical components to be connected to the battery.
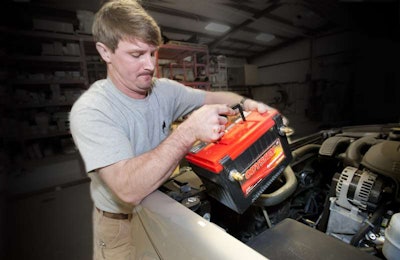 Lift and set the Odyssey battery into position. Don't wory about any acid spills--the absorbed glass mat (AGM) design is spill- and leak-proof.
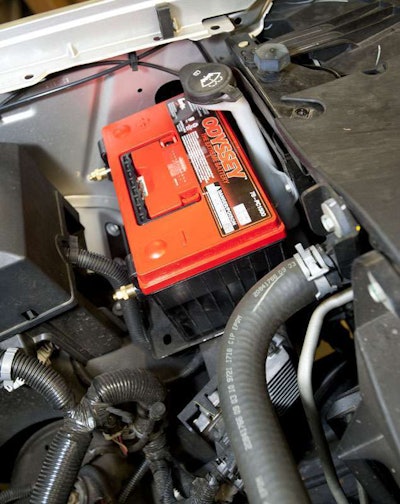 The Odyssey battery sits fine in the existing GM battery tray.
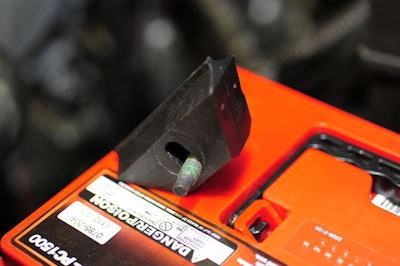 The only GM part needed for the installation is this special battery retainer. It costs less than $5 from the local GM dealer.
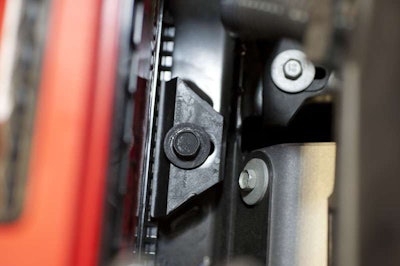 GM battery retainer bolts into the existing battery tray, firmly holding the Odyssey in place.
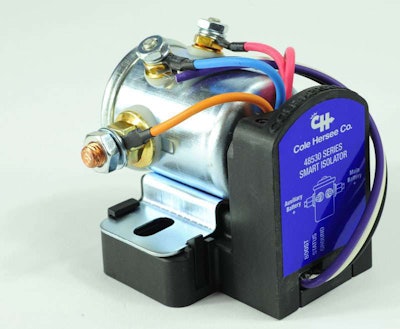 COle Hersee Smart Battery Isolator (#48530) automatically connects/disconnects the aux. battery from the main battery depending on each battery's charge.
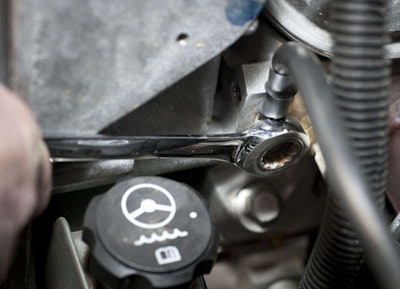 The main ground cable from the auxiliary battery should connect to the engine block. A good location is the open threaded hole just below the alternator bracket.
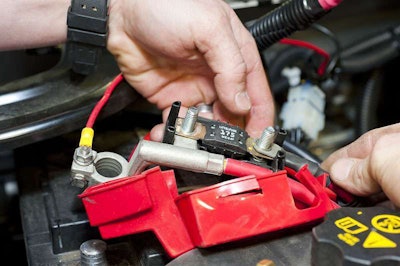 Install longer 8x1.25x25mm bolts to hold the 175-amp circuit breaker to accommodates the additional battery cable that connects the cranking battery to the new auxiliary battery.
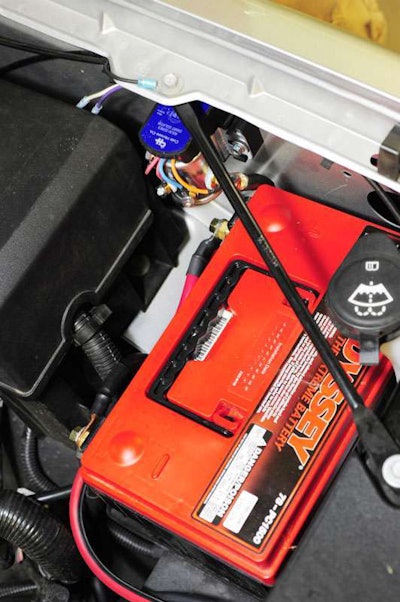 The finished auxiliary battery installation looks every bit OEM. It should as GM already had a second battery in this location for some applications.
Odyssey and Cole Hersee make it easy to add a second battery to Chevy/GMC 1500s
By Bruce W. Smith/HWT Senior Editor
Working outdoors in the winter is a taxing time in most parts of the country where weather takes its toll on both man and machine.
One mechanical area that’s particularly suseceptible to cold is a pickup’s battery. Batteries don’t like cold, which leads to older, weaker batteries failing in the winter.
Batteries get their hardest electrical hits during the winter months when auxiliary lights, the heater, radios, warning strobes, winches, inverters and other necessary accessories are being used during the commute and on the jobsite.
Even with the engine running the amp load needed to power such an array of accessories can put a strain on the stock electrical system of today’s 1/2-ton pickups. (Most 3/4- and 1-tons run dual batteries from the factory.)
The best way to minimize the chance of battery failure and ensure ample electrical power is to is to add a second battery.
For example, 2011 Chevy/GMC 1500s come with a single Group 48 battery located in the passenger’s-side rear corner of the engine bay. There’s also an unused battery tray on the driver’s front corner. Why it’s there is a mystery because there’s no TP2 dual-battery option for the 1500s.
Whatever the reason, that second battery tray simplifies the installation of the second battery.
The slide show shows every step. But here’re the basics of how we went about adding a second battery to a 2011 GMC Sierra 1500 Crew Cab 4×4.

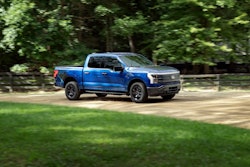
An Odyssey battery and Cole Hersee smart battery isolator makes it easy to add a second battery under the hood of later-model GM 1/2-ton pickups.
We purchased a GM Battery Retainer (#14005061) that cost less than $5, along with a second battery and and a battery isolator designed to work with the new electronics.
The factory AC-Delco Group 48 battery is unique to GM trucks, and it’s rated at 615 CCA (Cold Cranking Amps) with 110 RC (Reserve Capacity). It’s almost identical to a Group 34/78 or Group 78 battery.
So we chose an Odyssey 78-PC1500-A AGM battery as the auxiliary, which delivers 880 CCA and 135 minutes RC.
The Odyssey is far more receptive to deep discharging and resistant to the hard pounding from off-pavement use than the OEM battery.
To connect the two batteries properly, we selected a Cole Hersee Smart Battery Isolator (#48530) designed to work with the electronic charging systems found on newer pickups.
This 200-amp isolator senses the voltage of both main and auxiliary batteries and connects/separates them according to their charge, always protecting the main “cranking” battery.
For example, you pull the truck in to a jobsite, turn the engine off and leave all the warning lights on. When the isolator senses the batteries reach 12.7V it opens the solenoid relay to separate the two batteries and turns off the status light.
This separation protects the starting battery while allowing the auxiliary battery to continue to power the auxiliary loads.
When you start the truck, the charging system brings the cranking battery back to 13.2 volts (full charge), then the isolator closes, the red status light turns on, and the alternator now recharges the auxiliary battery.

This Cole Hersee wiring diagram shows the proper way to install the isolator between the stock truck battery and the auxiliary one.
Should need a “boost” at start, an optional “momentary switch” can be easily wired in to the Smart Isolator that connects both batteries for one minute once it’s activated
We also installed a Cole Hersee SureStart Compact Low Voltage Disconnect Switch (#48513-01) on the firewall to use as our “hot point” between the auxiliary battery and future strobe lights and accessories.
This unit sounds an alarm when battery voltage drops below 12.1 volts. One minute later it automatically disconnects the battery it’s connected to (we will use it with the auxiliary) from whatever accessories are attached to it.
Automatically isolating the auxiliary battery in this way keeps it protected from total discharge, which could be the case when running lights or other accessories when one is away from the truck for a period of time.
Doing a battery upgrade like this sets your 1/2-ton work truck up to handle any electrical need it might encounter in the field.
Special Thanks
Odyssey Batteries/EnerSys Energy Products Inc.; 800-538-3627
Cole Hersee; Littlefuse Commercial Vehicle Products; 210-651-1845

